
What is the Problem with WordPress Emails?

Using Your Branded Email Address in WordPress – Configure ‘WP Mail SMTP’ Plugin
Configure the WP Mail SMTP
There are three different ways to configure WP Mai SMTP on you’re your website.
• Use Setup Wizard
• Configure on Settings Page
• Add code Manually to your wp-config.php file
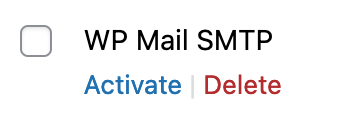
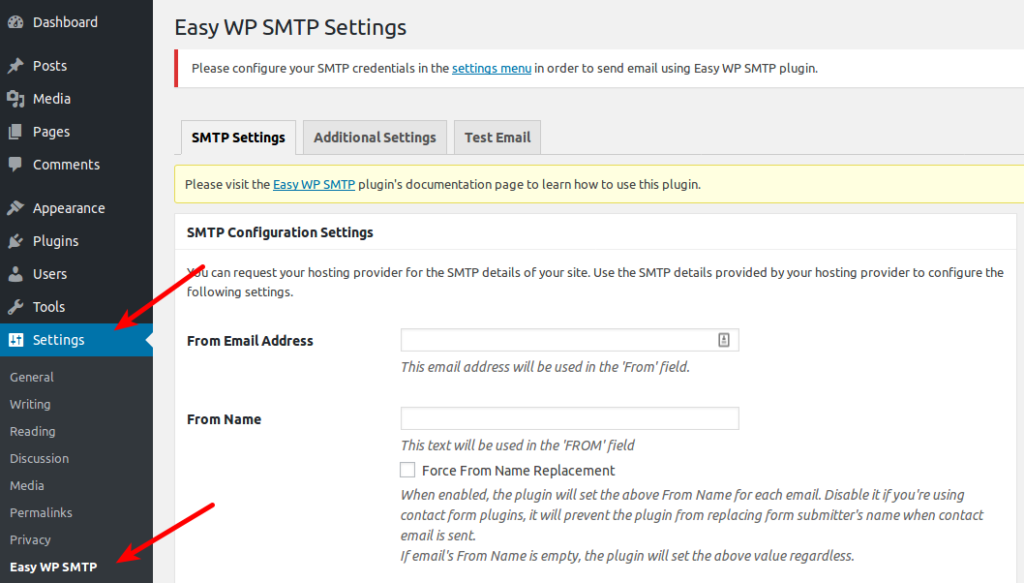
1. Once, your plugin has been installed and activated, click on WP Mail SMTP in your WordPress dashboard.
2. Click the Settings.
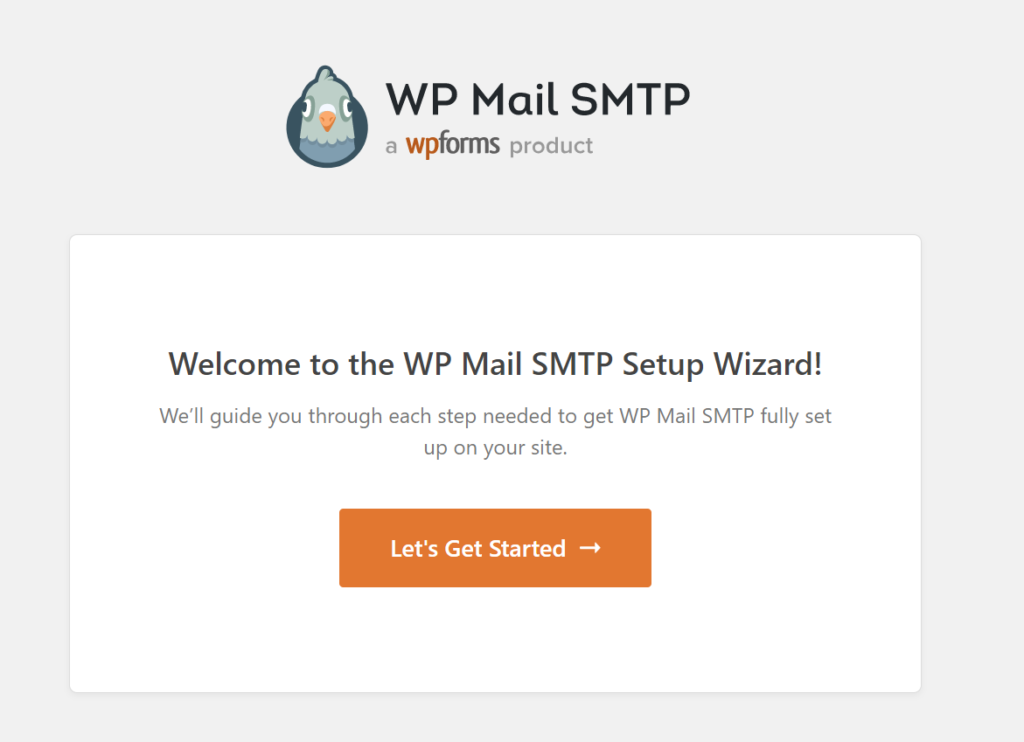
Configure With Setup Wizard
Setup Wizard is a quick way to configure this plugin.
1. Click the Launch Setup Wizard button.

4. The next page lists all of your mail settings. Set up a Gmail mailer and fill in all the details.
View the following document for more information: Set up G Mailer
5. Once done, fill in Client ID, Client Secret, Authorized Redirected URI.
6. Click on Connect to Google.
7. log in to your Gmail account.
8. Click on Allow for all permissions.
9. Once the connection is established, you are all set.
Configure on the Settings Page
2. Fill in the following fields:
• From Email – Enter the email you wish to send FROM
• Force From Email – Check this box
• From Name – Enter a name you’d like to appear as being sent FROM
• Force From Name – Check this if you wish to force the FROM name
• Return Path – Check this box
4. Under the Gmail section, put Client ID and Client Secret.
Use the above article, and get these IDs from G Mailer.
5. Once done, click the Save Settings button.
6. Click on Connect to Google.
7. log in to your Gmail account.
8. Click on Allow for all permissions.
9. Once the connection is established, you are all set.
Add code Manually to your wp-config.php file
This is the more advanced way of configuring WP Mail SMTP. However, it is more secure. You need to manually edit the main configuration file. If you choose this method, you do not need anything in your WordPress. You simply make changes to wp-config.php file and it gets updated automatically.
1. Log into your server using FTP or SSH.
2. Once you are logged in, edit wp-config.php file.
3. Scroll down in this file to the following line:
/* That’s all, stop editing! Happy blogging. */
4. Add the following lines just above this line.
// turn constants on
define( ‘WPMS_ON’, true );
// general configuration settings
define( ‘WPMS_MAIL_FROM’, ’email@example.com’ );
define( ‘WPMS_MAIL_FROM_FORCE’, true ); // True turns it on, false turns it off.
define( ‘WPMS_MAIL_FROM_NAME’, ‘Example Name’ );
define( ‘WPMS_MAIL_FROM_NAME_FORCE’, true ); // True turns it on, false turns it off.
define( ‘WPMS_SET_RETURN_PATH’, true ); // Sets $phpmailer->Sender if true.
// specific configuration settings
define( ‘WPMS_SMTP_HOST’, ‘smtp.dreamhost.com’ );
define( ‘WPMS_SMTP_PORT’, 587 );
define( ‘WPMS_SSL’, ‘tls’ );
define( ‘WPMS_SMTP_AUTH’, true );
define( ‘WPMS_SMTP_USER’, ’email@example.com’ );
define( ‘WPMS_SMTP_PASS’, ‘********’ );
define( ‘WPMS_SMTP_AUTOTLS’, true );
define( ‘WPMS_MAILER’, ‘smtp’ );
5. The only parts you need to change are WPMS_MAIL_FROM, WPMS_MAIL_FROM_NAME, WPMS_SMTP_USER and WPMS_SMTP_PASS.
6. Save the file.
7. You are all done.
Testing the Plugin
Conclusion
WordPress isn’t a good platform to send or receive emails. However, you can use plugins like WP Mail SMTP for the same. Simple Mail Transfer Protocol (SMTP) helps email pass the spam test. Thus, your email will most likely land in your customer’s inboxes.
We hope this article helped you learn how to set up and configure WP Mail SMTP into your WordPress site. Contact an expert if you need more information on SMTP.
You may be interested in knowing 5 Tips to Send Bulk Emails Without Spamming!
If you have any questions, then please feel free to ask in the comments below. 😊


