
Stripe is a very popular payment gateway around the world. It helps businesses take any type of payment on their websites. From subscriptions to recurring billing; it can do all. With Stripe you can collect customers’ payment information easily and securely. It is compatible with all devices such as desktops, tablets or mobile devices. With more than 100+ currencies around the world, Stripe can accept all major credit cards like Visa, MasterCard, American Express, Discover, JCB, and more. Stripe is one of the best woo-commerce payment gateways. Therefore, we will explain the step-by-step process of Stripe configuration with your WordPress site.
Before you start creating the Stripe account, make sure you have the following information ready.
• An email address
• A good password for your account
• Last four digits of Social Security Number
• Your Bank’s routing number
• Your Bank account number
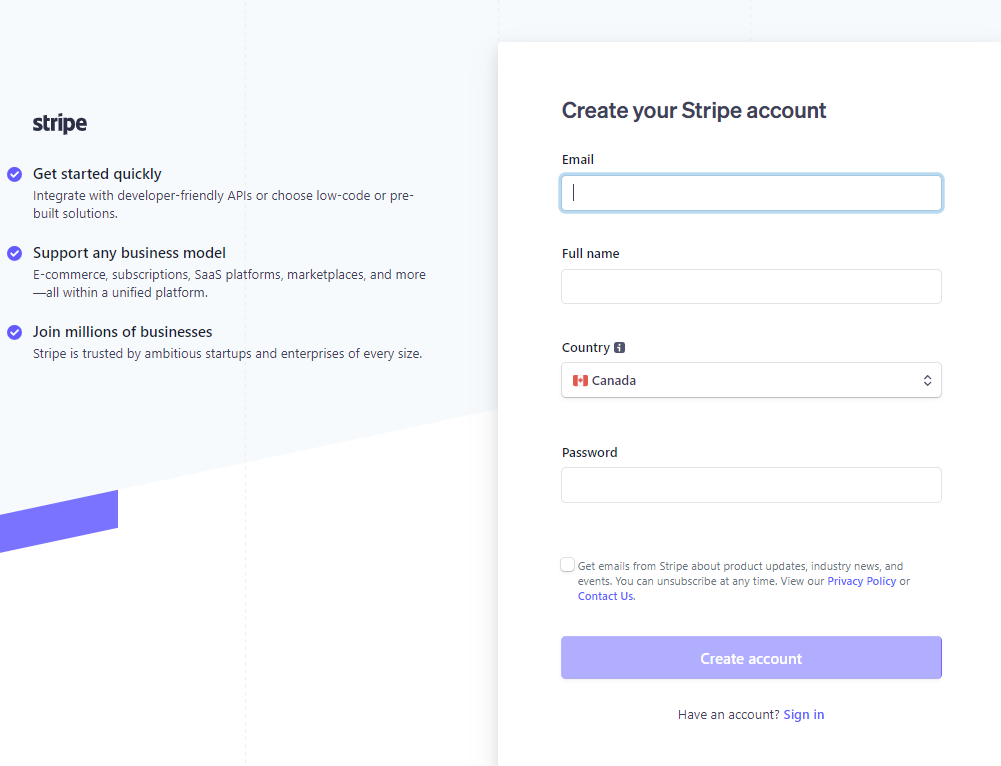
2. When you are ready, fill out the information correctly. Once done, click on create account.

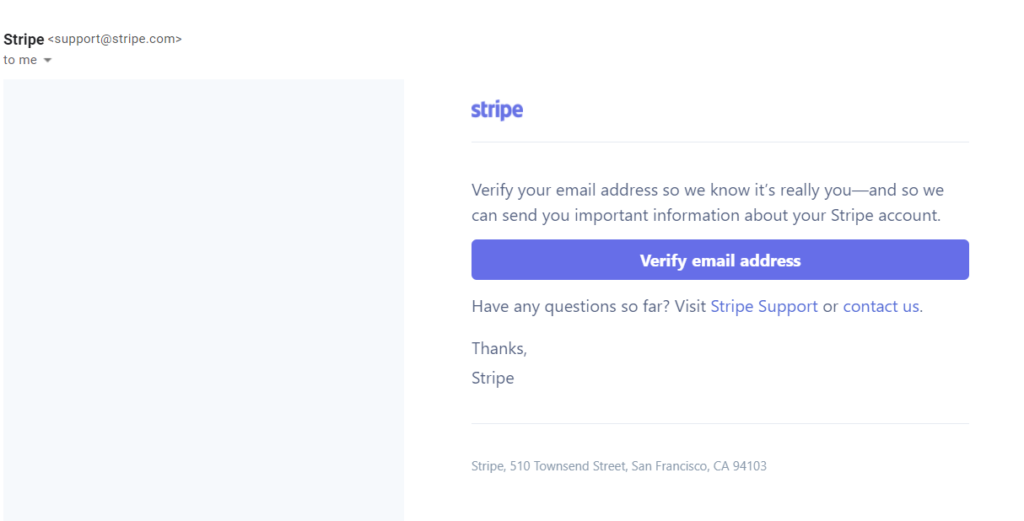
3. Click on the ‘Open Gmail’ button and verify your email address.
4. Once, Gmail account is open click on ‘Verify email address’.


Get the API Keys to connect Stripe to your Web Site

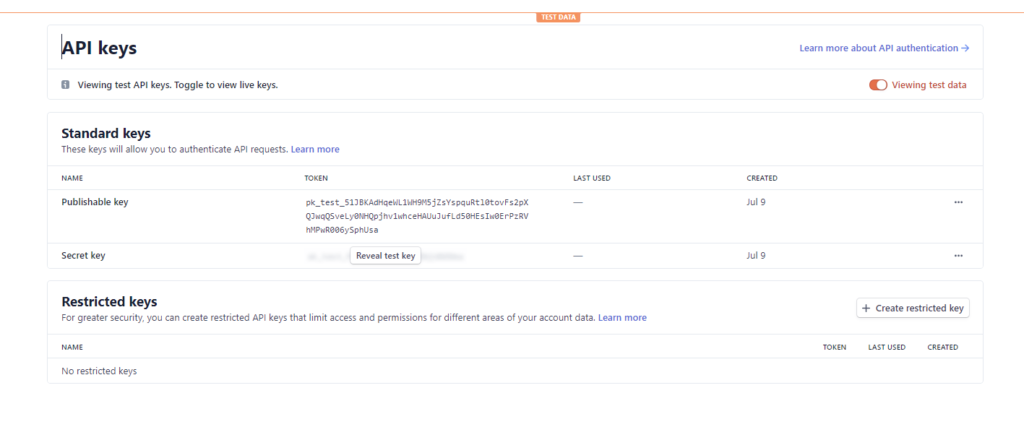
4. You need to copy the Publishable key and Secret key and send them to your web developer. Test keys can be used to check and connect Stripe account with your website (you need to click on “Reveal test Key Token).
Important: Please copy/paste the keys, as it’s very hard to type them from a picture.
5. Once the configuration and integration are done and it is working properly; you would also need to send live keys to your web developer.
Use the same toggle button on top, and switch to the live data. Then click on “Reveal live key token” to display the secret key and copy/paste that as well.
Setup the Stripe WebHooks
What is a webhook?
How to create your webhook?
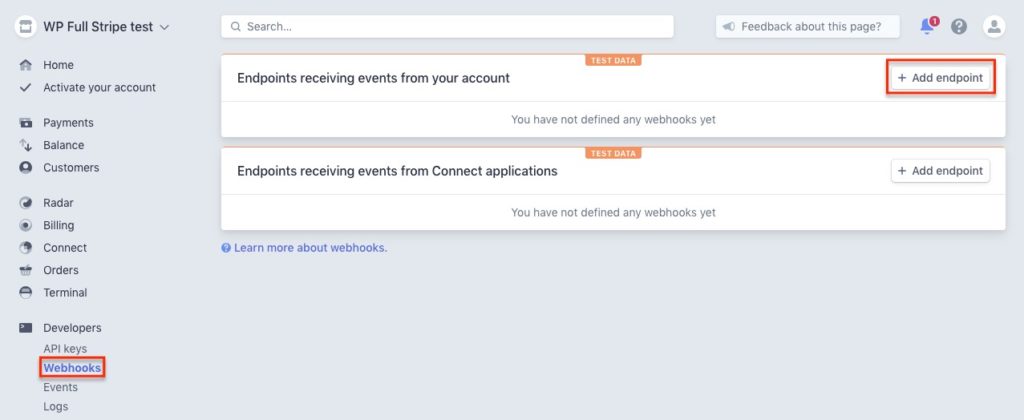
To set up a webhook, you will need to register a new webhook in your Stripe account.
1. Go to Dashboard > Developers > Webhooks
2. Click on Add endpoint button on the top right corner.
3. It will open a new window for ‘Add a Webbook Endpoint’.
• You can find the Stripe webhook URL you can find in WP admin.
• Full Stripe > Settings > Stripe page

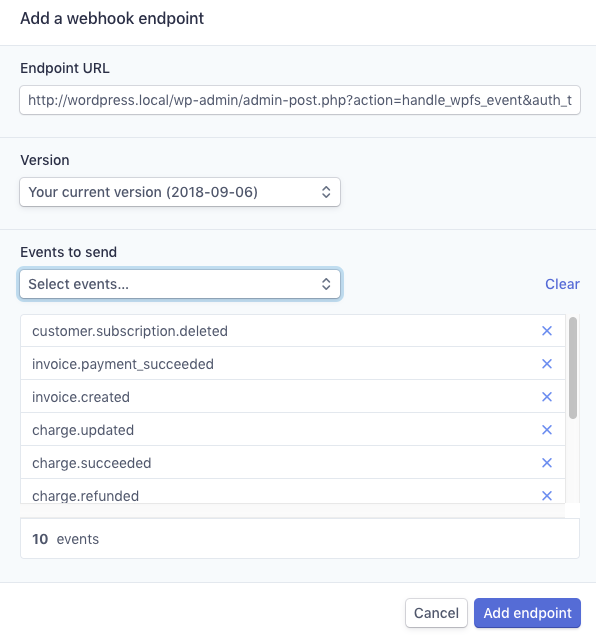
4. Switch to live mode.
5. Repeat step 3) in live mode.
Final Words!
Stipe is one of the best payment gateways that can help your business grow over time. Every online buyer wants to do an easy and secure checkout; Stripe can do that. Sometimes, the installation and setup process can be a little tricky; a WordPress expert can help you get started with your online woocomerce store and attract positive traffic to your website.
If you have any questions or other recommendations, so leave us a comment! 🙂


